What’s Kavalava?
Imagine your favorite dessert getting even better with a new twist! Meet Kavalava. This tasty treat mixes the deliciousness of baklava with the relaxing effects of kava. Curious? Keep reading to learn more about this unique dessert and how to make it at home.
What is Kava?
Kava is a plant from the Pacific Islands. People there have used it for a long time to make a calming drink. It helps people relax and feel happy. Nowadays, you can find kava in drinks, supplements, and even desserts like kavalava!
What is Baklava?
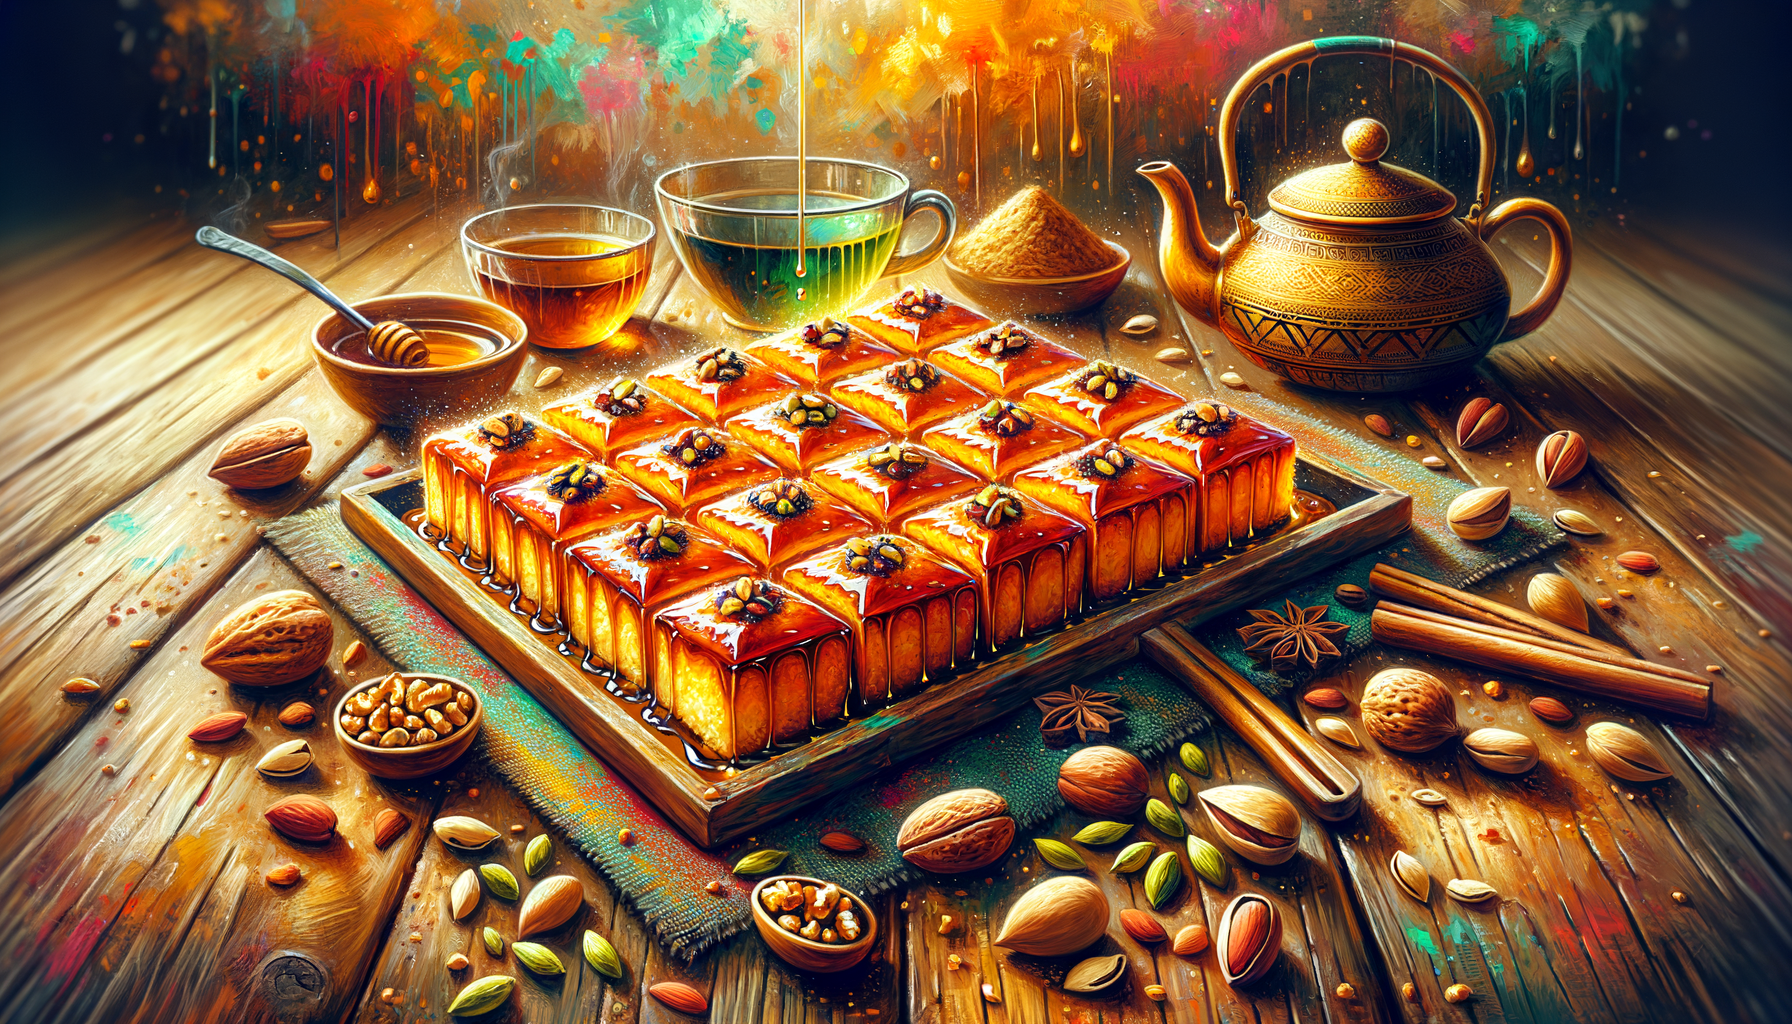
Baklava is a sweet dessert from the Middle East and the Mediterranean. It’s made with layers of thin dough (called phyllo), nuts, and syrup. It tastes sweet, nutty, and crunchy. People often add spices like cinnamon to make it even more flavorful.
How Kavalava Was Invented
Matt Warren, a fan of cooking experiments and co-founder of Psychedelic Water, created kavalava. One day, while making baklava, he thought, "Why not add kava to it?" After many tries, he found the perfect recipe.
What You’ll Need to Make Kavalava
Here are the ingredients you’ll need:
- Phyllo dough
- Mixed nuts (walnuts, pistachios, and almonds)
- Honey
- Kava powder or kava extract
- Spices like cinnamon, cloves, and cardamom
How to Make Kavalava
-
Preheat the Oven: Turn your oven to 350°F (175°C).
-
Prepare the Filling: Mix nuts, a tablespoon of kava powder, and a pinch of cinnamon, cloves, and cardamom in a food processor. Blend until coarse.
-
Layer the Dough: Brush a baking tray with melted butter. Lay down one sheet of phyllo dough and brush it with more butter. Do this for 10 layers. Spread a thin layer of your nut-kava mixture over the dough.
-
Continue Layering: Keep layering phyllo dough and the nut-kava mixture. Finish with 10 layers of phyllo on top, brushing each with melted butter.
-
Bake: Cut the layered dough into diamond or square shapes. Bake for about 45 minutes until the top is golden brown and flaky.
-
Make the Syrup: While the kavalava bakes, cook honey, water, and a teaspoon of kava extract in a saucepan. Let it simmer for 10 minutes until it thickens a bit.
-
Add the Syrup: When the kavalava is done, pour the hot syrup over it. Make sure every piece gets soaked.
-
Let It Cool: Let the kavalava cool and set for at least 6 hours, or overnight if you can wait.
Tips for Perfect Kavalava
- Choose Mild Kava: Pick a mild-flavored kava so it doesn’t overpower the baklava taste.
- Balance the Flavors: Taste your nut mixture and syrup to check the kava flavor. Adjust as needed.
- Store Properly: Keep kavalava in an airtight container to stay fresh.
Health Benefits of Kavalava
Kavalava is more than just tasty. It has kava’s relaxing properties, plus the healthy benefits of nuts and honey, like vitamins and antioxidants.
When to Serve Kavalava
Kavalava is great for:
- Festivals and Holidays: Add it to your special dessert menu.
- Parties: Surprise your guests with this unique treat.
- Relaxing Nights: Enjoy with a cup of tea for a calm evening.
Decorate with ground nuts or more honey for a nice look.
What People Are Saying
Here’s what some folks think about kavalava:
- "I brought kavalava to a potluck, and everyone loved it!" — Jessica T.
- "Kavalava helps me relax, and it tastes amazing." — Mark S.
We’d love to hear your stories, so share photos and feedback with our community!
Try Kavalava Today
Kavalava mixes kava’s relaxing vibes with the delicious taste of baklava. Give it a try and see if it becomes your new favorite dessert!
Join Us
Want more fun recipes? Sign up for our newsletter, join our social media, and check out our store for kava and other goodies.
Enjoy the tasty harmony of kava and baklava and share the love with friends and family!
Leave a Reply